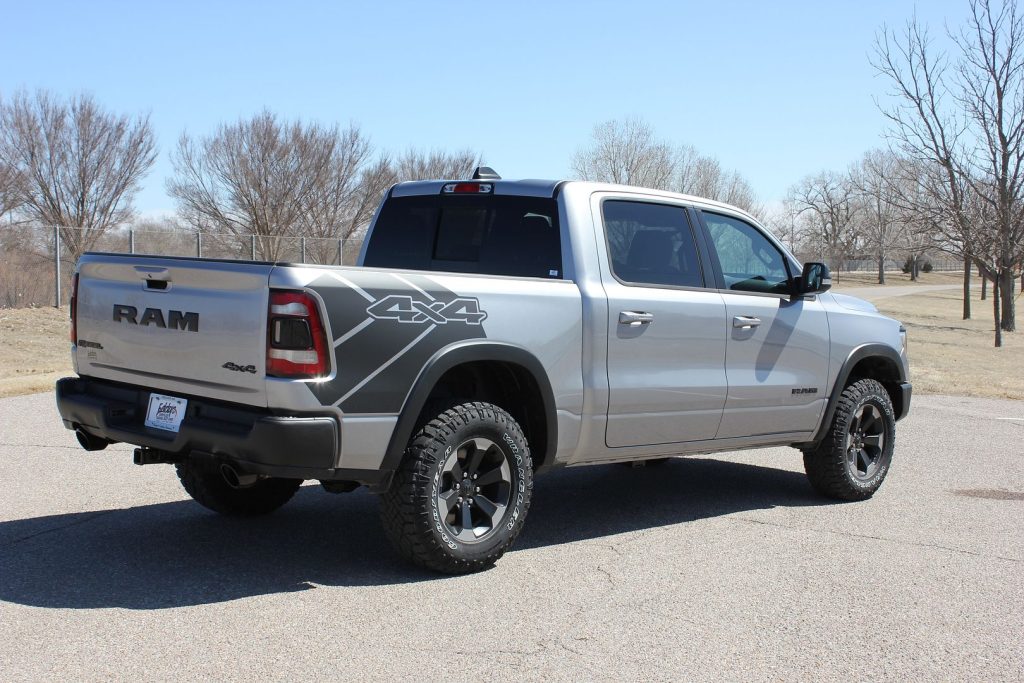
Installing vinyl graphics yourself is possible with the right prep, tools, and technique. Successful DIY vinyl installation depends on surface cleaning, temperature control, alignment, and patience. When done correctly, vinyl graphics can enhance your vehicle’s appearance, protect paint, and last for years without damage.
Step 1: Know What Kind of Install You are Doing
There are two main types of installation you can use to put your vinyl graphics on your vehicle: wet install and dry install. But what is the difference?
Wet Installation
A wet installation involves using a spray bottle filled with a water and soap solution and installing in warm weather. This allows you to gently move or adjust the placement of a vinyl graphic after it sticks. The range for good results is between 50 and 90 degrees Fahrenheit. While you can try to install vinyl outside of this weather range, it is likely to become brittle or gummy and break. Determine what time of year your average day and night temperatures fall within this range.
Dry Installation
A dry installation involves mostly the same steps, but when you are about to stick the vinyl to the surface you do not use any spray. This method is highly discouraged as any mistakes cannot be undone, so proceed with caution if you choose this method. This method is one we advise for professionals.
In the instructions below, we will specify whether certain instructions are for a wet installation or a dry installation.
Step 2: Preparation Matters Most
The most important part of vinyl installation happens before the vinyl ever leaves the liner. The planning steps matter the most out of the whole process.
Choose a good day to do the installation
Temperature plays a key role. As previously mentioned, vinyl installs best in moderate conditions, not extreme cold or heat, between 50 and 90 degrees Fahrenheit. Working indoors or in the shade helps keep the material flexible and easier to manage. Plan ahead to do the install on an optimal day with good weather and temperature.
Wash the area you will be installing the vinyl
A clean surface is non-negotiable. Wash the area thoroughly with a mild water and soap solution, dry completely, then remove wax, grease, and residue using isopropyl alcohol. Any dirt left behind will show through the vinyl or weaken adhesion. Finally, dry the surface again.
Measure the placement of the vinyl
Take time to measure placement. Measure twice to avoid mistakes. Using masking tape to hold it in place and move it helps you visualize the final look and lets you center the vinyl. You don’t want to finish the installation only to realize everything is slightly too far to the left.
Tape the vinyl in place
Using the masking tape, tape down your vinyl to the vehicle. This tape will act as a hinge so when you place the vinyl it should line up with the measurements you made. It is best to tape down the straightest side or straight down the middle of a longer piece. If you need a visual, there are multiple good videos that show the process clearly..
Prepare the tools you will need for the installation
Finally, prepare the tools you will need for the installation itself. We’ve put together a list of what you’ll need.
List of items you need to install your vinyl graphic:
- Stiff plastic squeegee
- Sharp razor knife
- Clean spray bottle
- Wetting solution: one drop of dish soap to one quart of water. (Don’t use too much soap. Trust us, one drop is enough)
Step 3: The Installation
Now for the installation process. Take your time for each step. Rushing will only lead to mistakes!
First, your vinyl should still be taped to the surface. If it is taped down the middle, you will be peeling off one half of liner paper first. Carefully tape a corner of the graphic to the vehicle while you gently cut away the backing paper you just exposed. If you have a piece you can use the hinge method on, you will be flipping the whole piece over and peeling off the entire liner paper.
Then for the wet method, you will spray the surface with the soap and water solution. Make sure you spray the entire area where the graphic is going.
For the dry method, you simply skip the spray and move on to applying the vinyl.
Next, slowly start laying the graphic on to the surface. Start with the areas closest to the hinge of tape, and use the squeegee to firmly adhere it to the surface. Use short strokes and work slowly. Do this until the entire graphic is applied.
Now, if you still have another half of the vinyl graphic to apply, do the exact same thing you just did by removing the remaining backing paper, spraying, and slowly applying it.
Once the entire vinyl graphic is applied, it must have time to adhere. If the vinyl has a premask made of paper, spray it with the soap solution until it’s soggy. After giving the graphic a few minutes to sit, start at one corner and start peeling the premask off at a 180 degree angle.
Finally, wipe away any residue and inspect it for bubbles. Bubbles should be easily fixed by poking a tiny hole at the bottom of the bubble then using the squeegee or your finger to push out the air from the top.
Common mistakes people make when installing vinyl
Most problems don’t come from lack of skill. They come from rushing. Installing outdoors on a windy day, skipping alcohol wipes, or pulling the backing too fast are the most frequent causes of frustration.
Another mistake is assuming all vinyl behaves the same. Thicker or low-grade vinyl is harder to reposition and more likely to crease. Using quality material gives you more room to correct mistakes as you work.
Avoid These Key Mistakes
- DON’T install outside. Dust and other particles will land on clean surfaces and your vinyl is likely to move around and stick in the wrong places.
- DON’T wash your car at an automatic carwash. Handwash your car instead. An automatic carwash is likely to damage the graphics.
- DON’T polish after installing the vinyl graphics. That will compound on the graphic and damage it.
- DON’T use silicone or wax after installation. That will cause damage to the vinyl graphics.
- DON’T use acetone, paint thinner, or ammonia-based cleaners to prepare your vehicle’s surface for the vinyl. This will cause damage to the surface of your vehicle.
Avoid these Don’ts to have a longer-lasting vinyl graphic. We also have several videos and additional reading on application methods available on our Services page.
Too Busy to Install Vinyl Graphics Yourself?
If you would prefer a professional install your vinyl graphics for you, Auto Trim of Cleveland has experience installing vinyl graphics for all types of vehicles. Whether you have a Jeep you want to customize, a truck for hauling, or commercial work vans, we can install your vinyl graphics for you. Give us a call and schedule an appointment today!